
By In-DERM Skin Clinic, Chelsea
If you’re researching microneedling before and after photos, you want proof—how skin changes in real life, how long healing takes, and what results actually look like. At In-DERM Skin Clinic in Chelsea, we photograph clients in controlled lighting with consistent angles so progress is easy to see and compare. This guide explains how microneedling works, how to prepare, what the treatment feels like, the day-by-day healing arc, and the improvements to expect over the following weeks—so your own microneedling before and after story feels predictable and confidence-boosting.
How Microneedling Works?
Microneedling uses precision-controlled needles to create uniform micro-channels in the skin. These tiny “injuries” switch on a natural repair cascade that renews collagen and elastin. Over time, this helps refine texture, fine lines, shallow acne scarring, and visible pores. Because the outermost layer remains intact, downtime is usually short and results build gradually across a series.
Who Microneedling Suits—and who should wait
Microneedling is ideal if you’re seeking smoother texture, smaller-looking pores, softer fine lines, or modest improvement in shallow scars. We typically pause or adapt treatment when there’s active acne, an eczema flare, an open lesion, a recent strong sunburn, certain medications, or if you’re very prone to post-inflammatory pigmentation; we’ll review everything at consultation and tailor settings so your microneedling before and after outcome looks refined—not over-treated.
The “before”: how to prepare for better results
Preparation shows up in photos. Five to seven days before your appointment, pause strong actives (retinoids, AHAs/BHAs) on the target area unless we advise otherwise. On the day, arrive with clean skin—no make-up, self-tan, or heavy occlusives—and stay well-hydrated. Avoid direct sun beforehand. If you’re prone to cold sores and we’re treating near the lips, we may recommend prophylaxis. Small steps like these make a visible difference in your before and after comparison.
What the appointment feels like
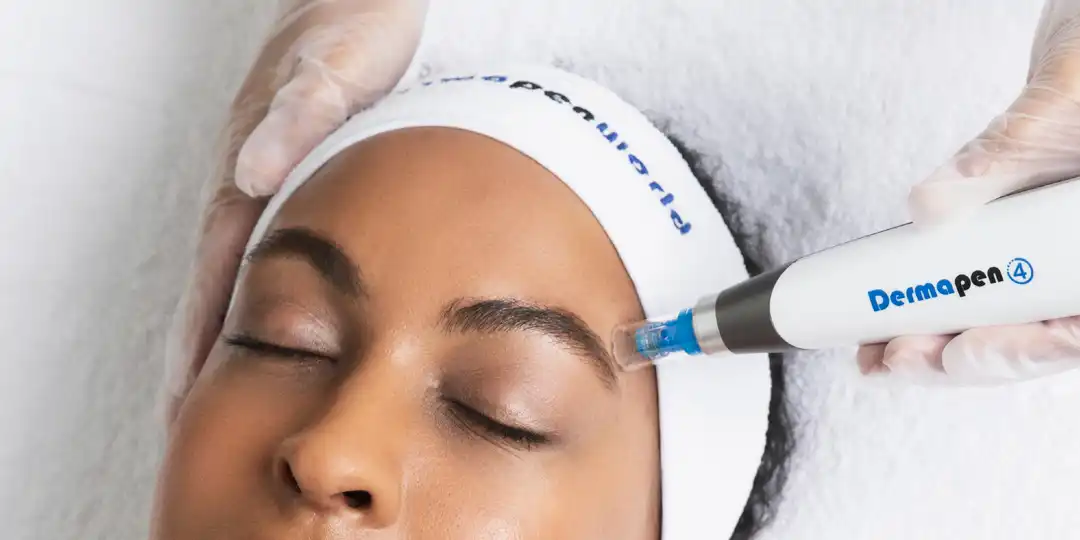
After cleansing and (when appropriate) topical anaesthetic, your aesthetician moves the device in systematic passes. Most clients describe a sandpapery vibration that’s very manageable; bony areas can feel sharper for a moment. Needle depth is adjusted by zone (forehead vs cheeks vs around the mouth) to respect skin thickness and your goals. We finish with a serum and barrier support so your Day 0 photos look tidy rather than angry.
The “after”: healing timeline you can trust
Day 0 (immediately after)
Skin looks pink to red—like a strong workout. It may feel warm and tight for a few hours. Light pinpoint spotting can appear in treated zones and settle quickly.
Day 1
Redness softens to a rosy glow. Skin feels snug or lightly wind-chapped. Keep routines simple: gentle cleanse + moisturiser.
Days 2–3
A faint, sandpapery texture is common. If you wear make-up, choose light, non-fragrant formulas and apply/remove gently.
Days 4–5
Subtle flaking or micro-shedding can occur. Don’t pick—hands-off healing is critical for a smooth microneedling before and after transition.
Days 6–7
Most surface changes settle. In consistent lighting, skin already looks clearer and more even-toned.
(Deeper, scar-focused work can extend early redness by a day or two; we’ll plan intensity and diary dates accordingly.)
Results: what you’ll realistically see—and when
Many people notice early radiance within a week—the camera catches a more even glow. True structural refinement (texture, pores, fine lines, shallow acne scars) builds from weeks 4–12 as collagen remodelling gathers pace. A series delivers the strongest before/after contrast:
- Mild texture/pores: ~3 sessions, 4–6 weeks apart
- Fine lines/early laxity: 3–4 sessions
- Shallow acne scarring: 4–6 sessions with tailored depths
Maintenance every 3–6 months helps preserve luminosity and smoothness—especially if you commit to daily SPF and a steady home routine.
Aftercare essentials (protecting the “after”)
First 48 hours — keep it calm and clean
Use a gentle, fragrance-free cleanser and a barrier-supporting moisturiser. Avoid saunas, hot yoga, intense workouts, exfoliating acids, retinoids, scrubs, and direct sun. If you step outside, mineral SPF is non-negotiable.
Days 3–7 — hydrate and be gentle
Reintroduce a hydrating serum (e.g., hyaluronic with soothing agents). Continue SPF and avoid friction. Make-up, if used, should be light and removed softly.
Week 2 onward — support remodelling
Layer antioxidants (vitamin C in the morning) and, if appropriate, a retinoid at night. Keep moisture levels steady. This is how you keep your microneedling before and after the trajectory moving in the right direction between sessions.
What makes a great “before & after” set
For fair judgement, consistency beats everything. Use the same place, same lighting, and same time of day—neutral wall, indirect daylight, hair tied back, no filters. Capture front, 45°, and profile angles before each session and again at 4, 8, and 12 weeks. You’ll be surprised how much change the camera sees when the variables are locked.
Stacking treatments (without overloading your barrier)
We often stage microneedling alongside complementary options for a smarter outcome: LED on post-days for calm; gentle enzyme or light peel on a different visit for clarity; RF or skin-tightening treatments in another block of time if firmness is also a goal. Your plan at In-DERM spaces these properly so benefits compound—not compete.
Pricing guidance & planning value
Final quotes depend on area(s), needle depth, and whether we combine modalities on separate visits. Many clients start with a three-session plan for general texture and tone; scar-focused courses often need four to six visits. Your fee covers expert assessment, medical-grade hygiene, precise parameter control, controlled-lighting photography, and clear aftercare—the ingredients that make microneedling before and after results predictable and polished.
Frequently asked questions
How soon will I see results?
Glow within a week; texture, pore, and fine-line changes build from week 4 and keep improving through weeks 8–12, especially with a series.
Is microneedling painful?
Most clients find it very manageable—more “scratchy” than painful. Bony areas can feel momentarily sharper.
Can microneedling help acne scars?
Yes—particularly shallow rolling or boxcar scars. We may plan slightly deeper passes and more sessions for meaningful change.
Is there downtime?
Social downtime is typically 24–48 hours of redness/tightness, followed by light flaking. Make-up is often fine by Day 2 if skin feels settled.
Is it safe for darker skin tones?
Yes, with trained providers. We tailor depth and passes, emphasise strict SPF, and may adjust intervals to minimise PIH risk.
Can I combine microneedling with other treatments?
Yes—usually on a staggered schedule but they also can be combined on the same day. LED is a popular add-on for calm; peels or RF can be timed in separate blocks depending on goals.
The takeaway
A well-planned microneedling before and after journey is steady and satisfying: brief downtime, visible glow within a week, and clearer texture and tone over the following months.
With the right series, consistent photography, and barrier-first aftercare, improvements look natural in every kind of light. At In-DERM Skin Clinic in Chelsea, we tailor parameters to your skin so your results are precise, predictable, and polished.
Book Your Consultation
Ready to plan your own microneedling before and after transformation? Book a consultation with In-DERM Skin Clinic in Chelsea. We’ll assess your skin, map your session plan, and guide aftercare—so every appointment builds beautifully toward smoother, brighter, more confident skin.